How Can We Help?
Tutorial : Jump Animation
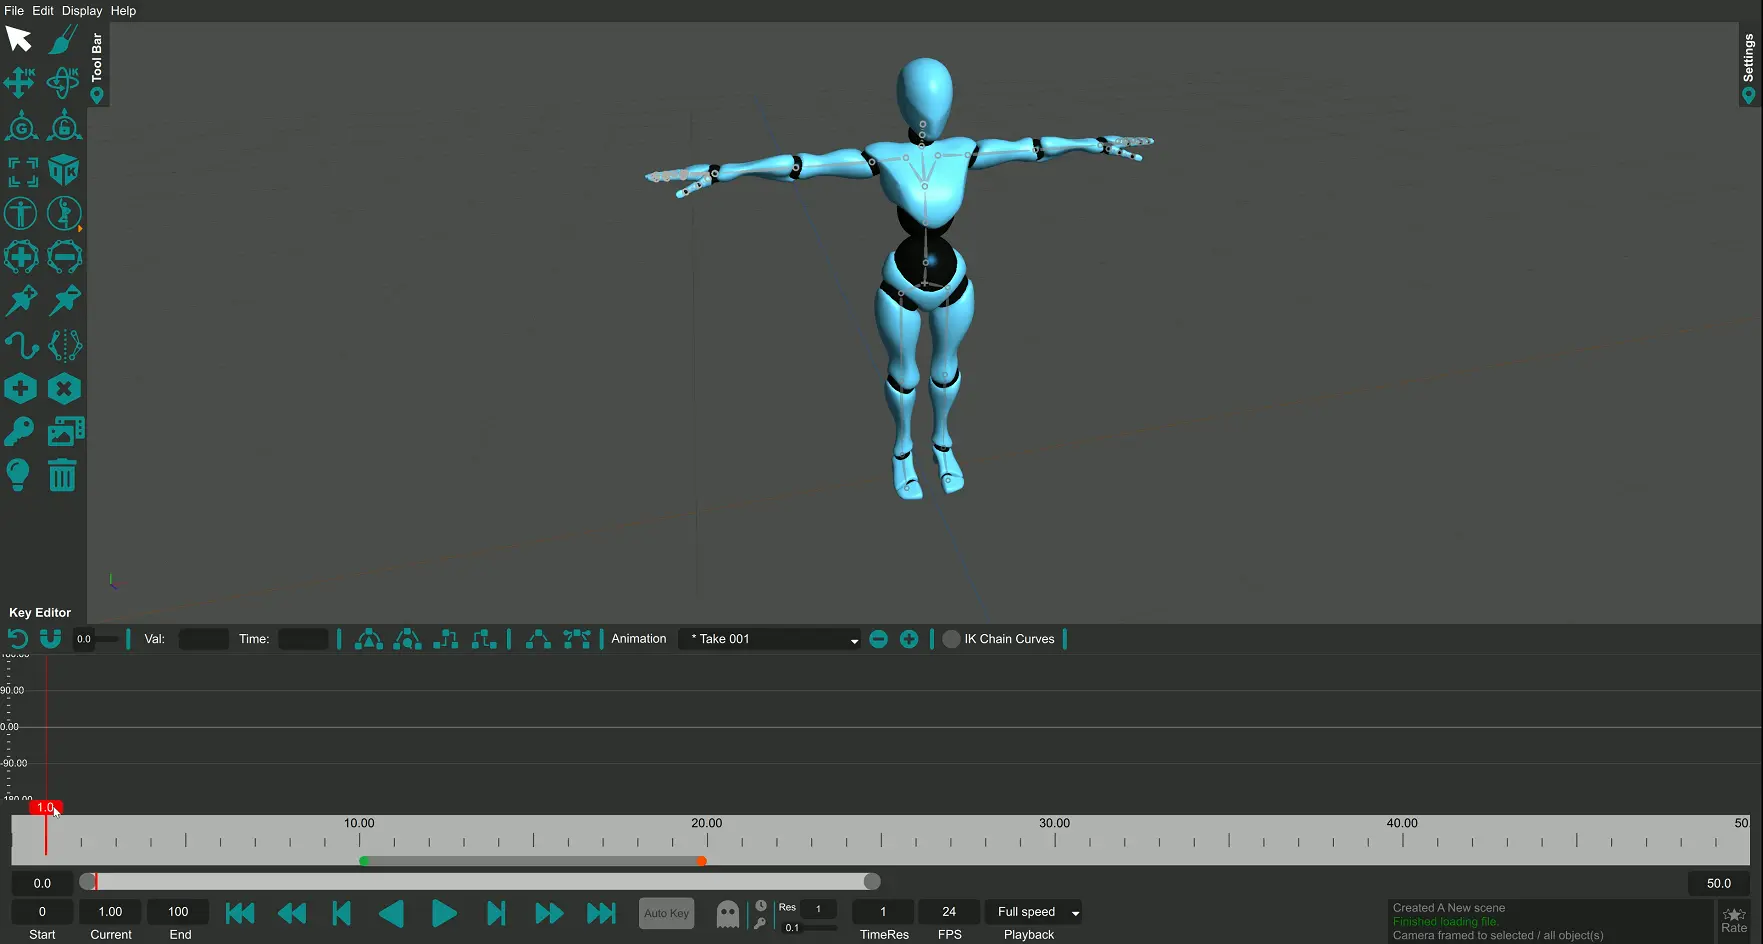
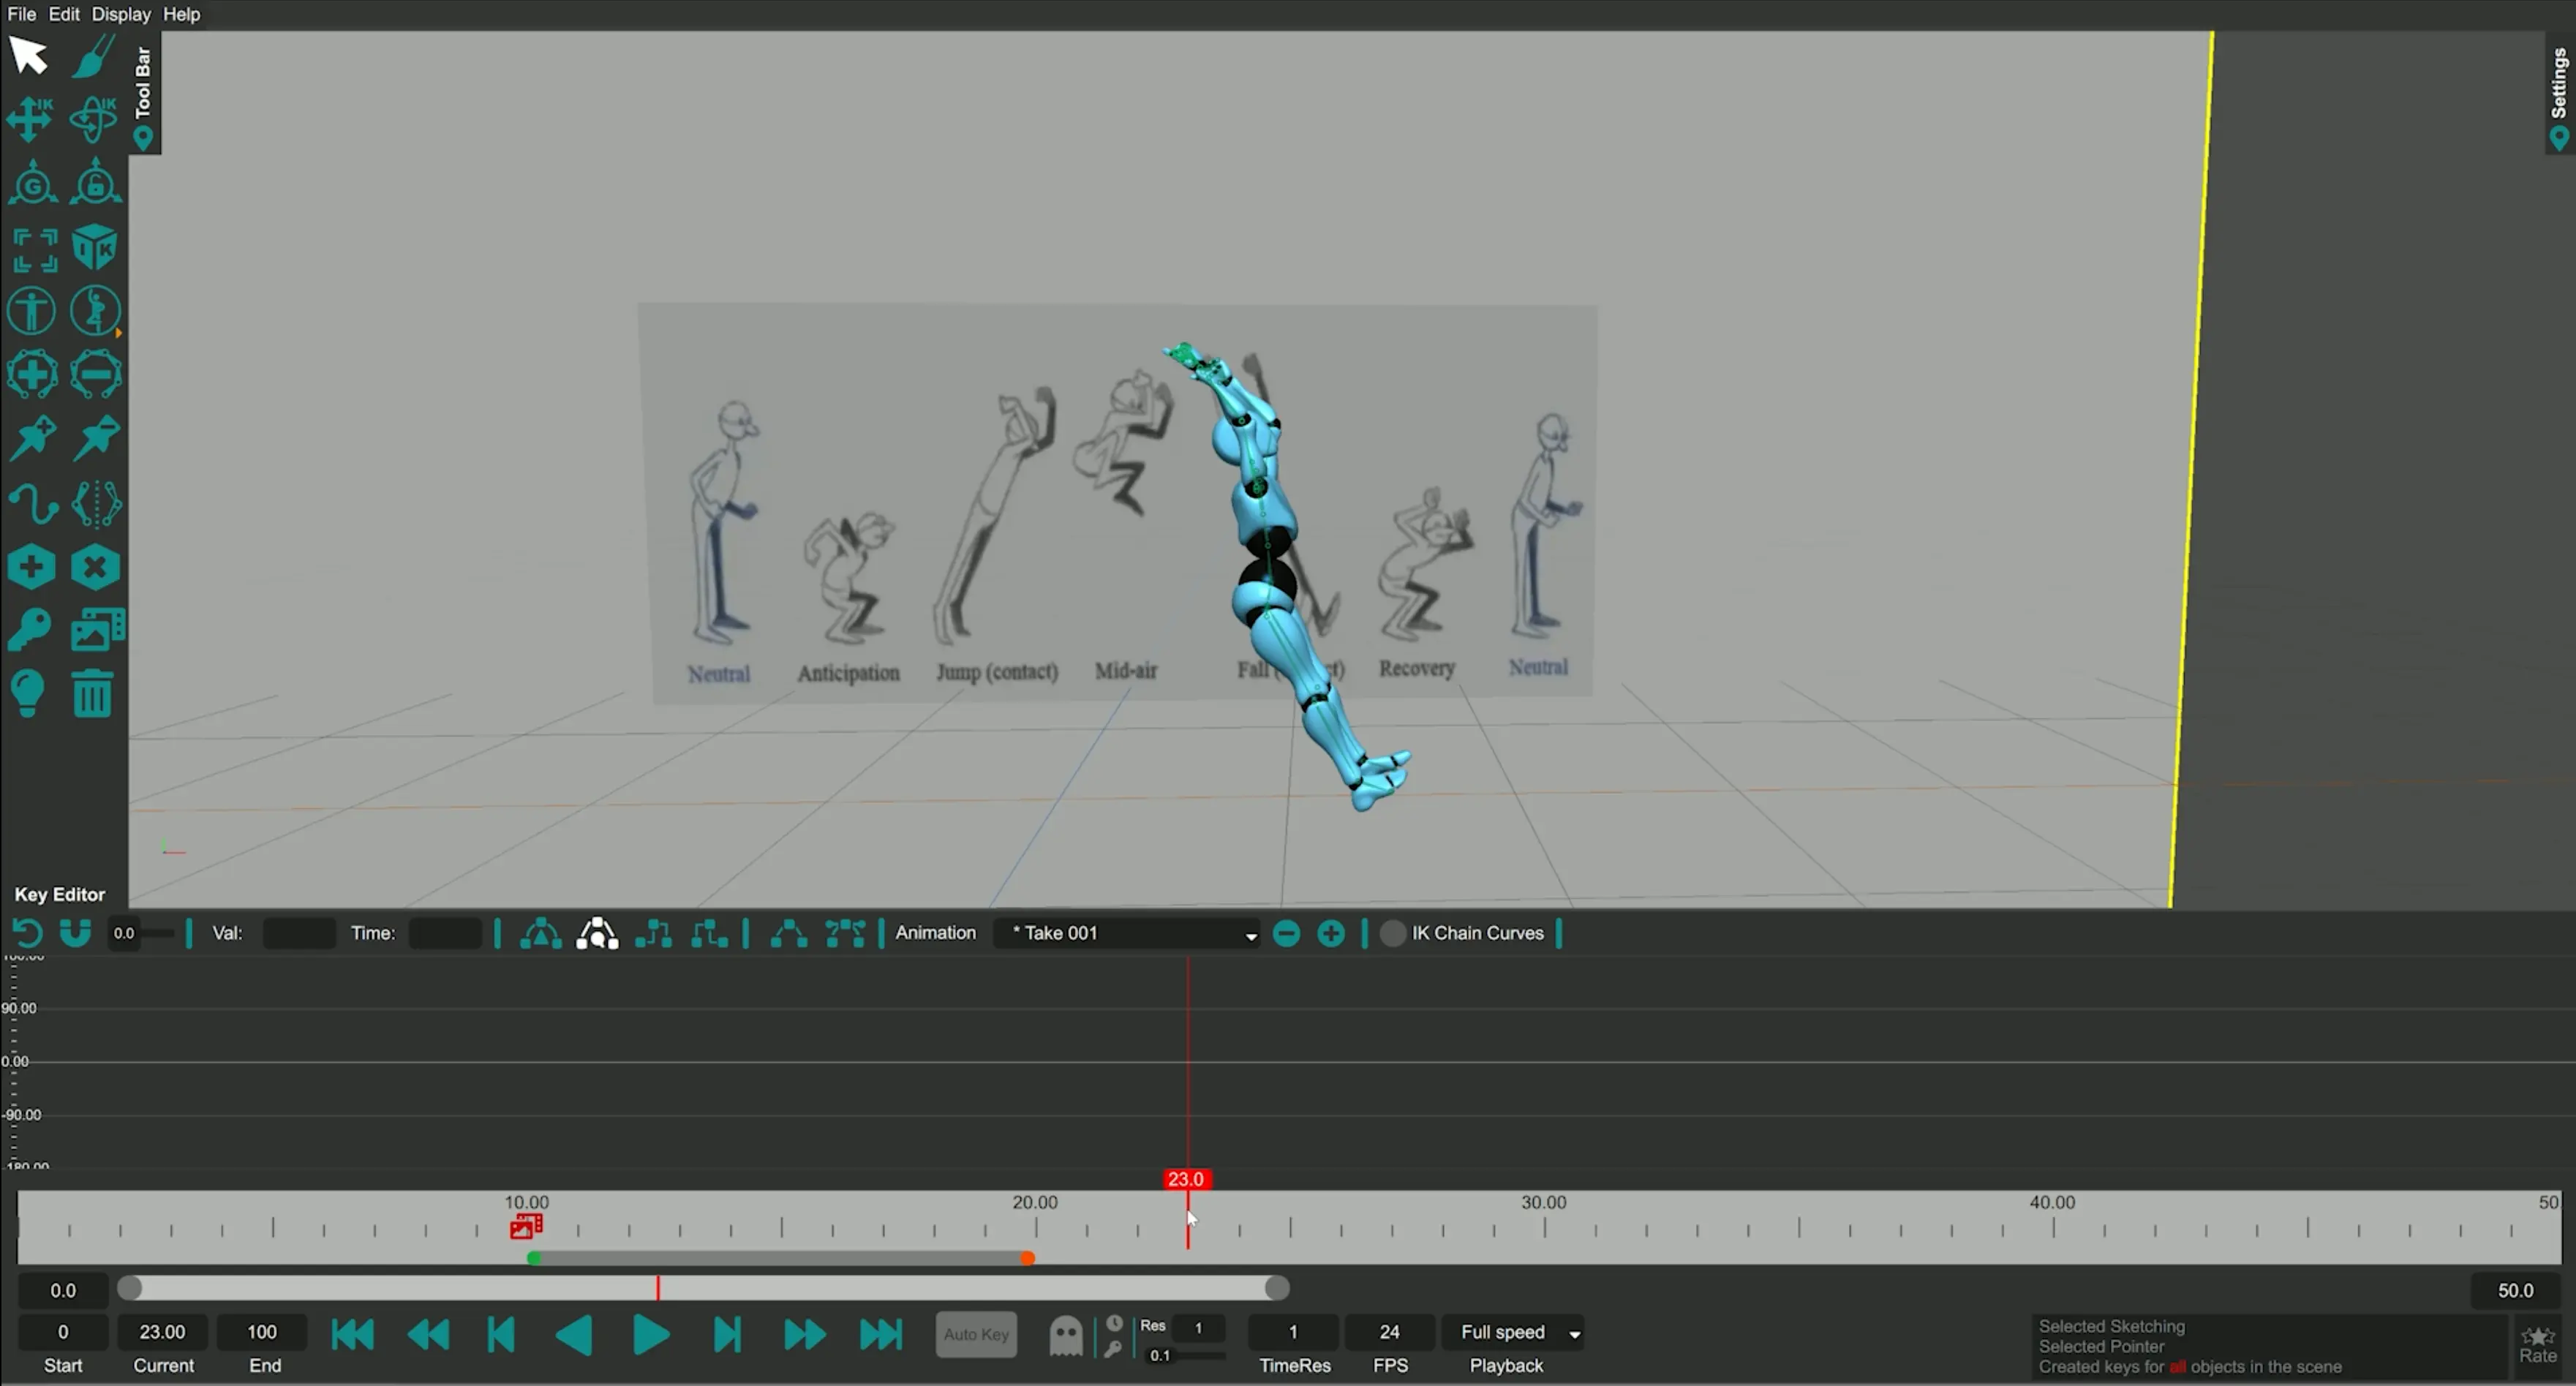
We start by first loading the character into the scene. For this please import the character using the import dialog. We’ll also need to create an image overlay to shown a jump cycle image for reference. To do this create a media overlay and import the image onto it. You may have to change the transparency color and scale the overlay to properly view it in the viewport. Once done, you should be able to see it as shown below.
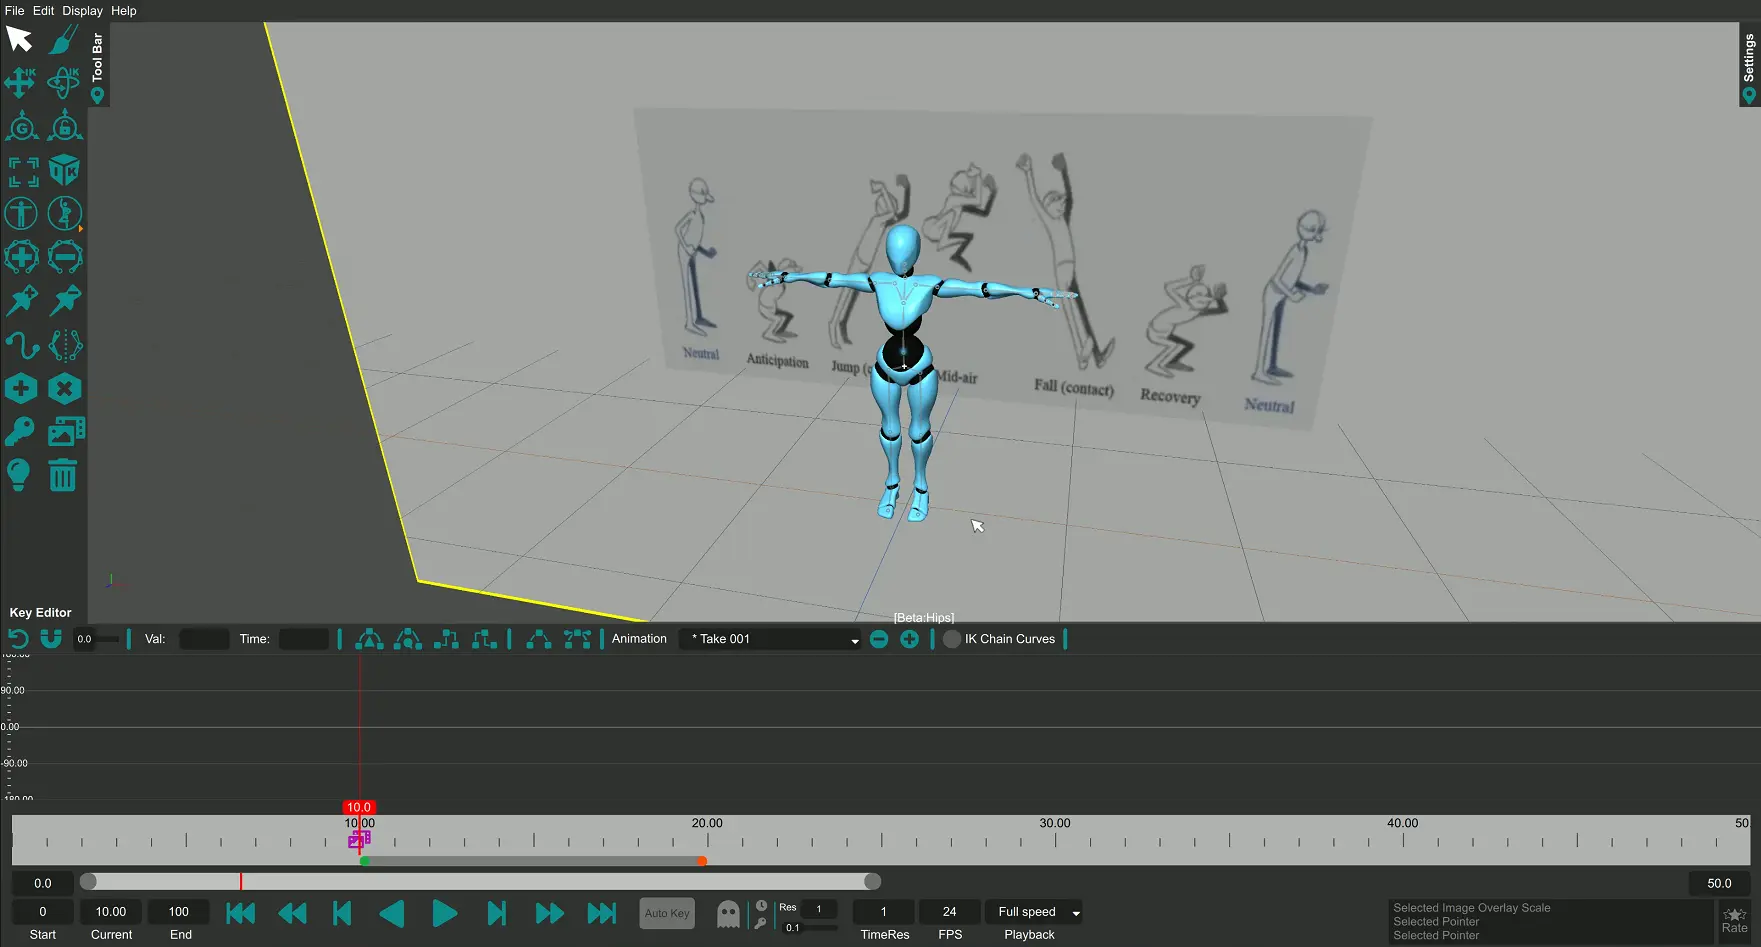
We can now start to pose our character in accordance with the poses shown in the reference image to create our animation. Please use IK, FK and sketching on the limbs / joints in order to pose your character in accordance to the first pose shown in the image. Once you are satisfied with the pose, make sure to create a key at the 0th frame value. This will ensure your pose is set on the timeline at the 0th frame.
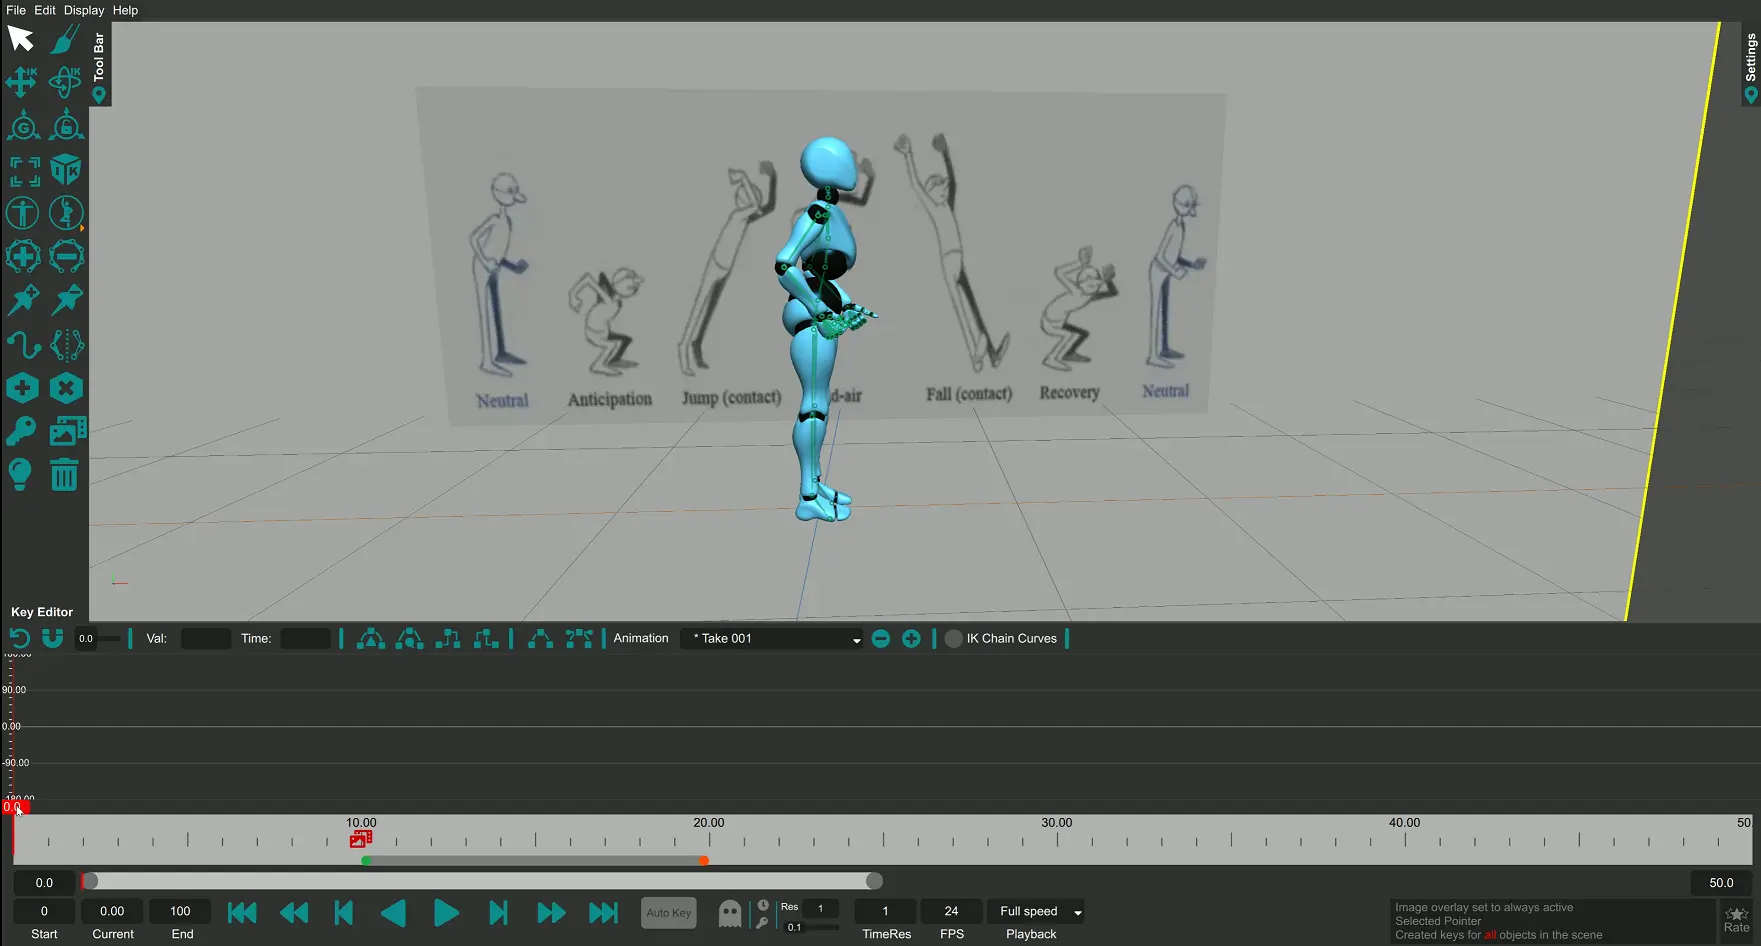
Similar to the first pose you can now create the second pose at the frame value 5. Please note if you change the time slider during posing, the character will reset to whatever is present at the timeline (currently the first pose) and your progress on the current pose will be lost. It is thus imperative to set the time-value before posing and not change it until you’ve created a key at that time value.
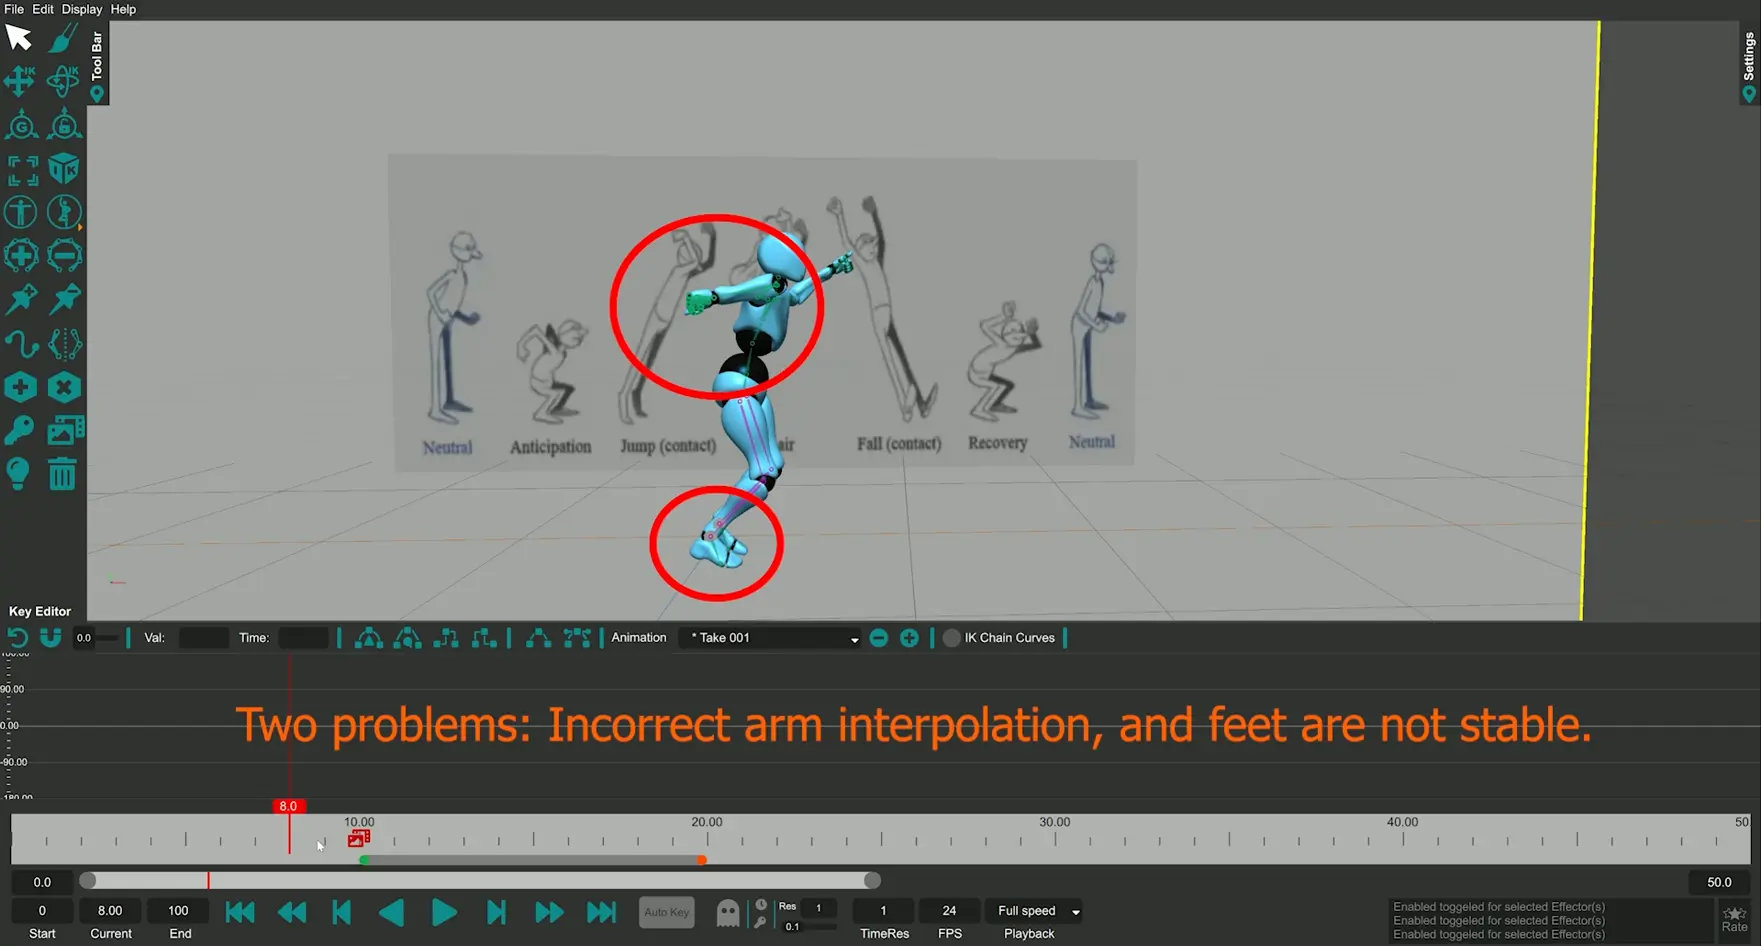

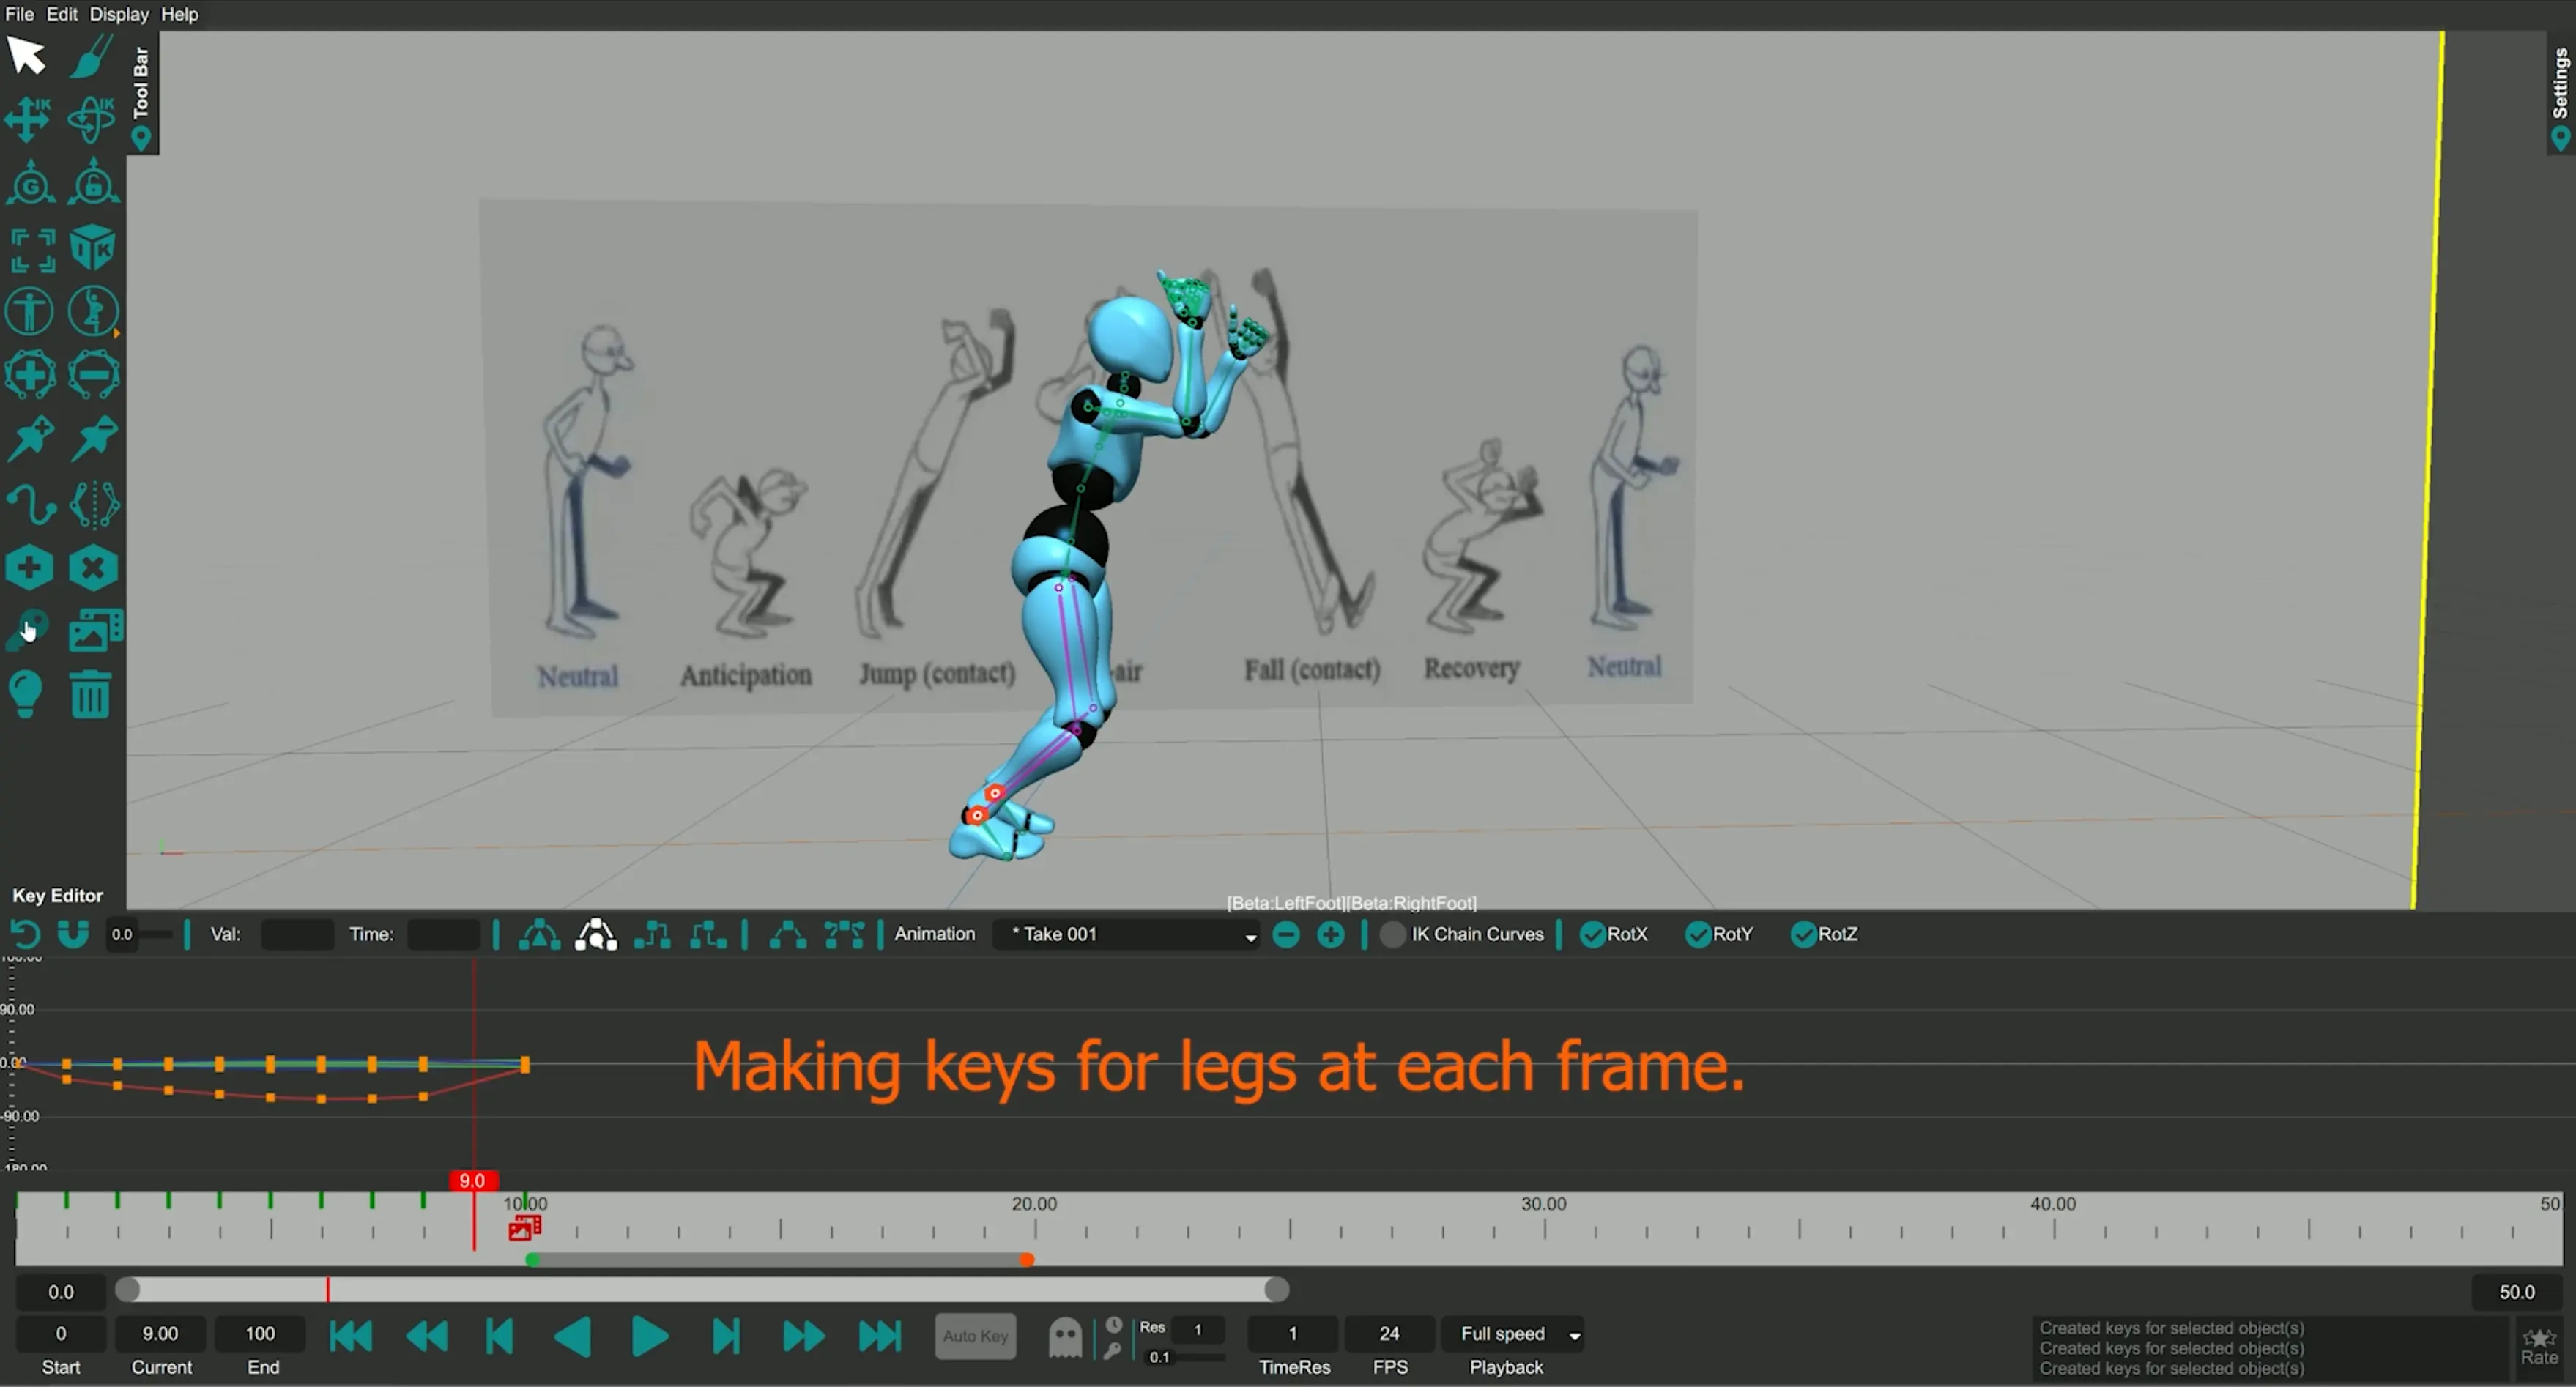
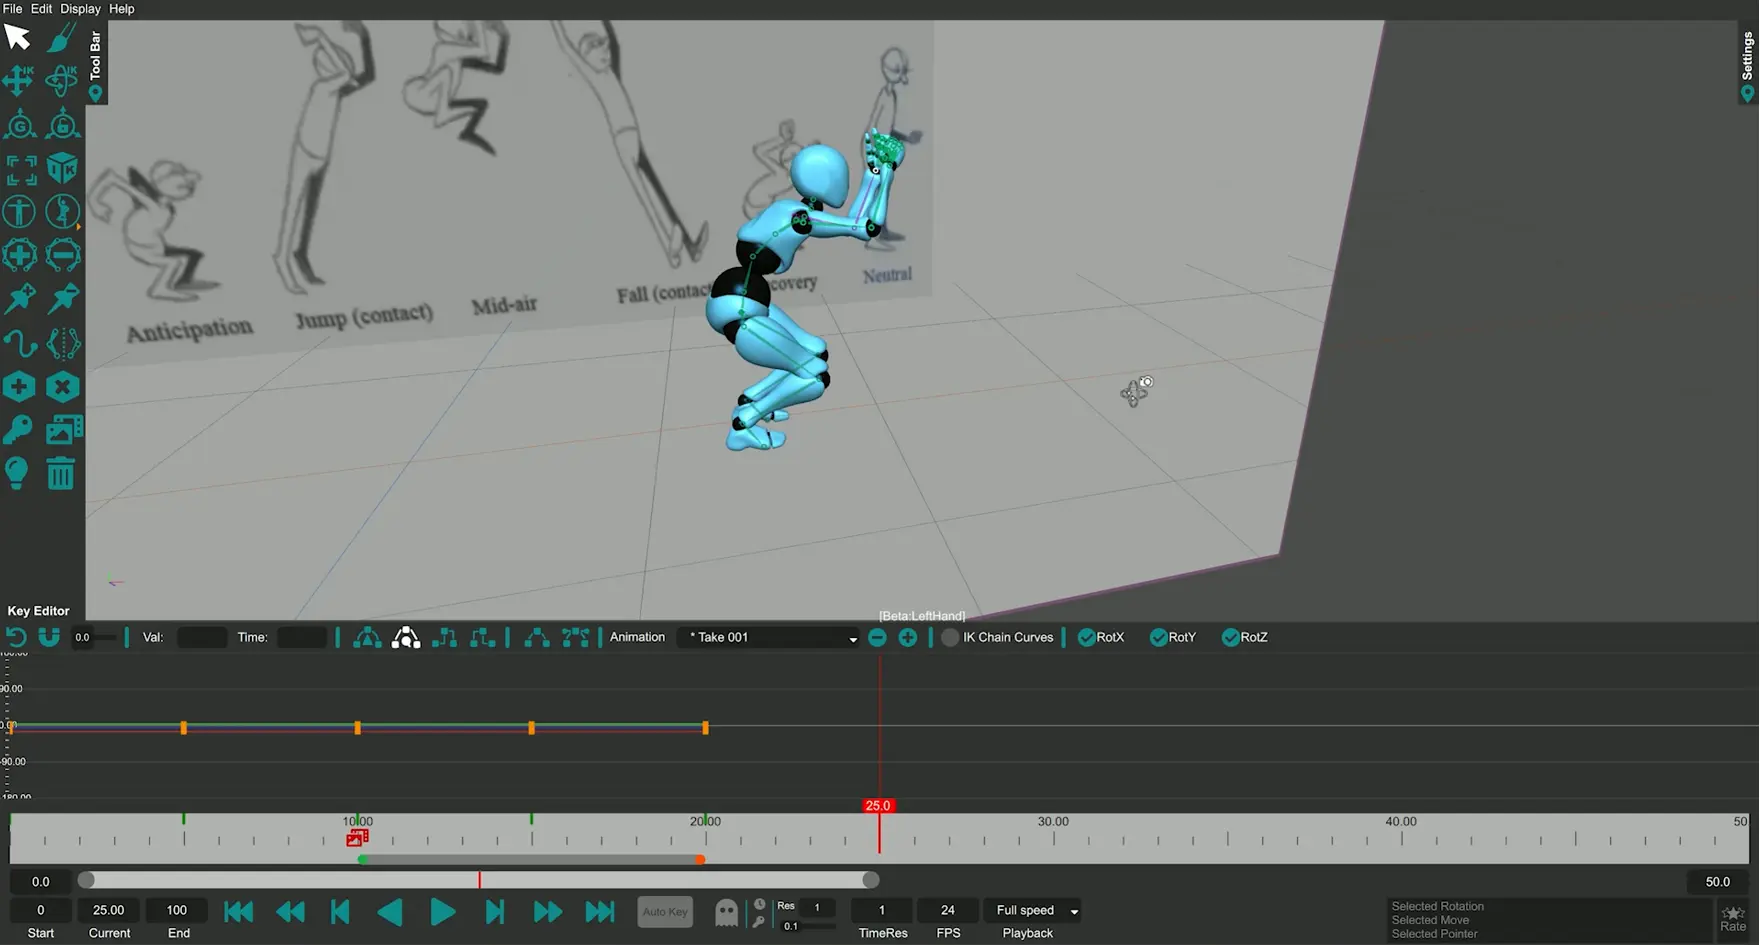
You may encounter problems during interpolation between poses as shown below. A simple solution to the interpolation problems is to use Quaternion interpolation instead of Euler angles as Quaternion interpolation interpolates linearly between two quaternions. In spite of this we may end up in a case where interpolation is not enough. For example in the case shown above where disabling/deleting the IK Effectors can cause the feet to shake. To fix this we must create keys at each frame value as shown below.
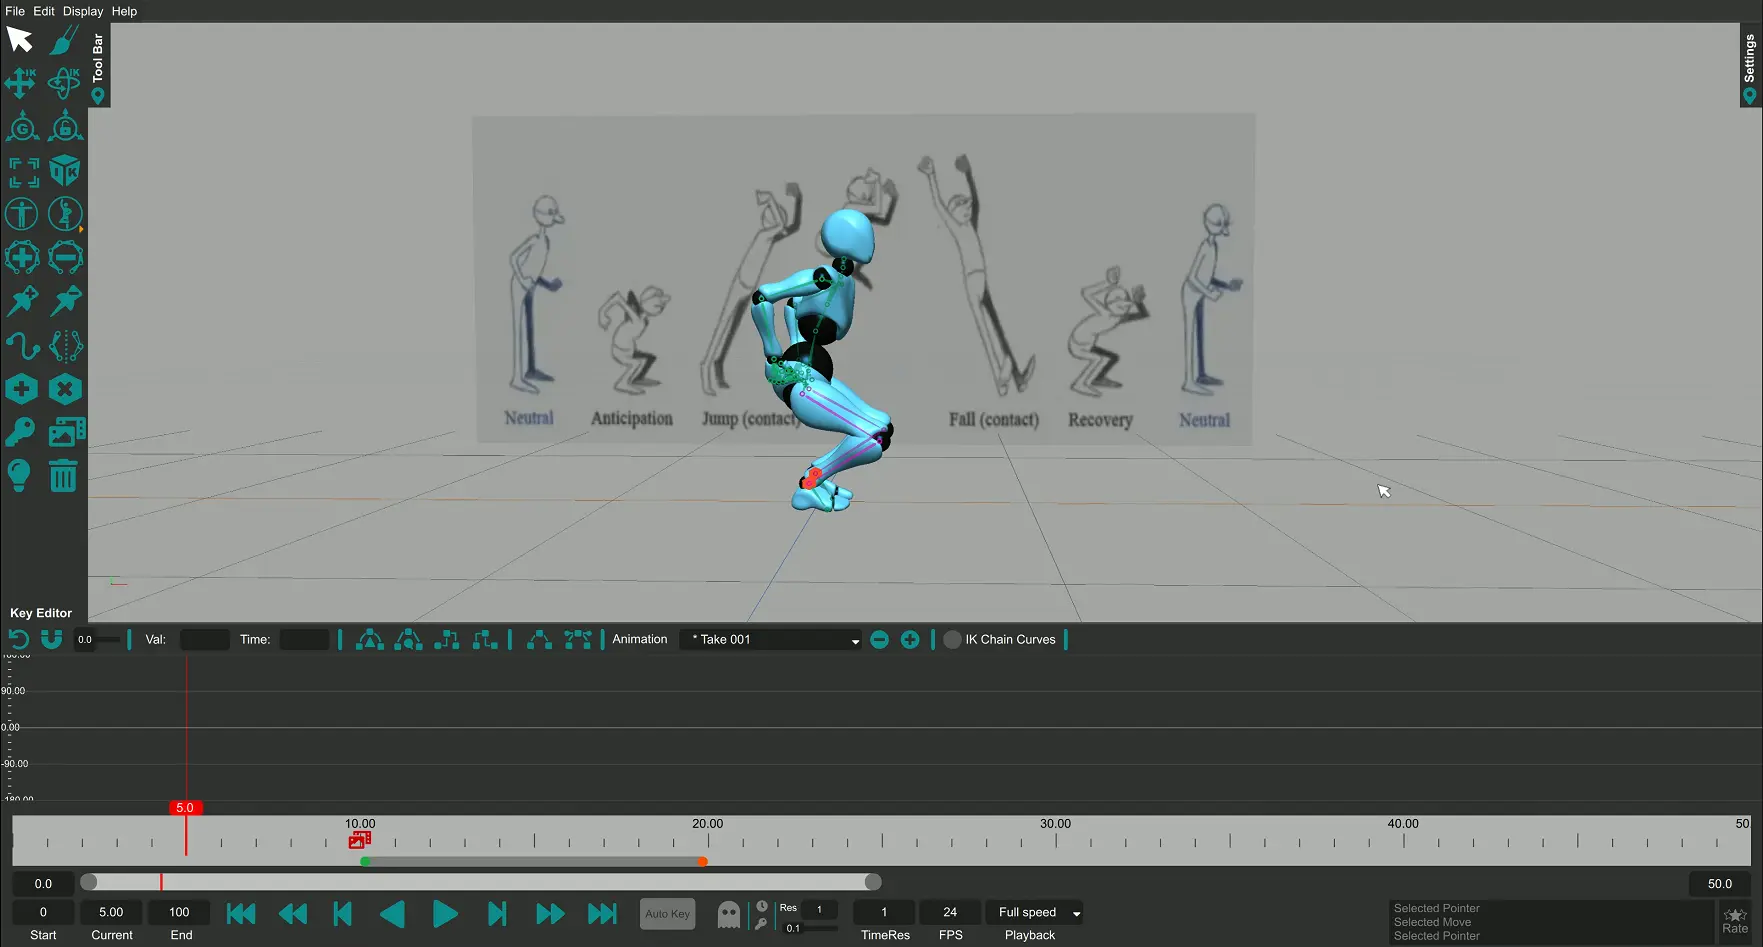
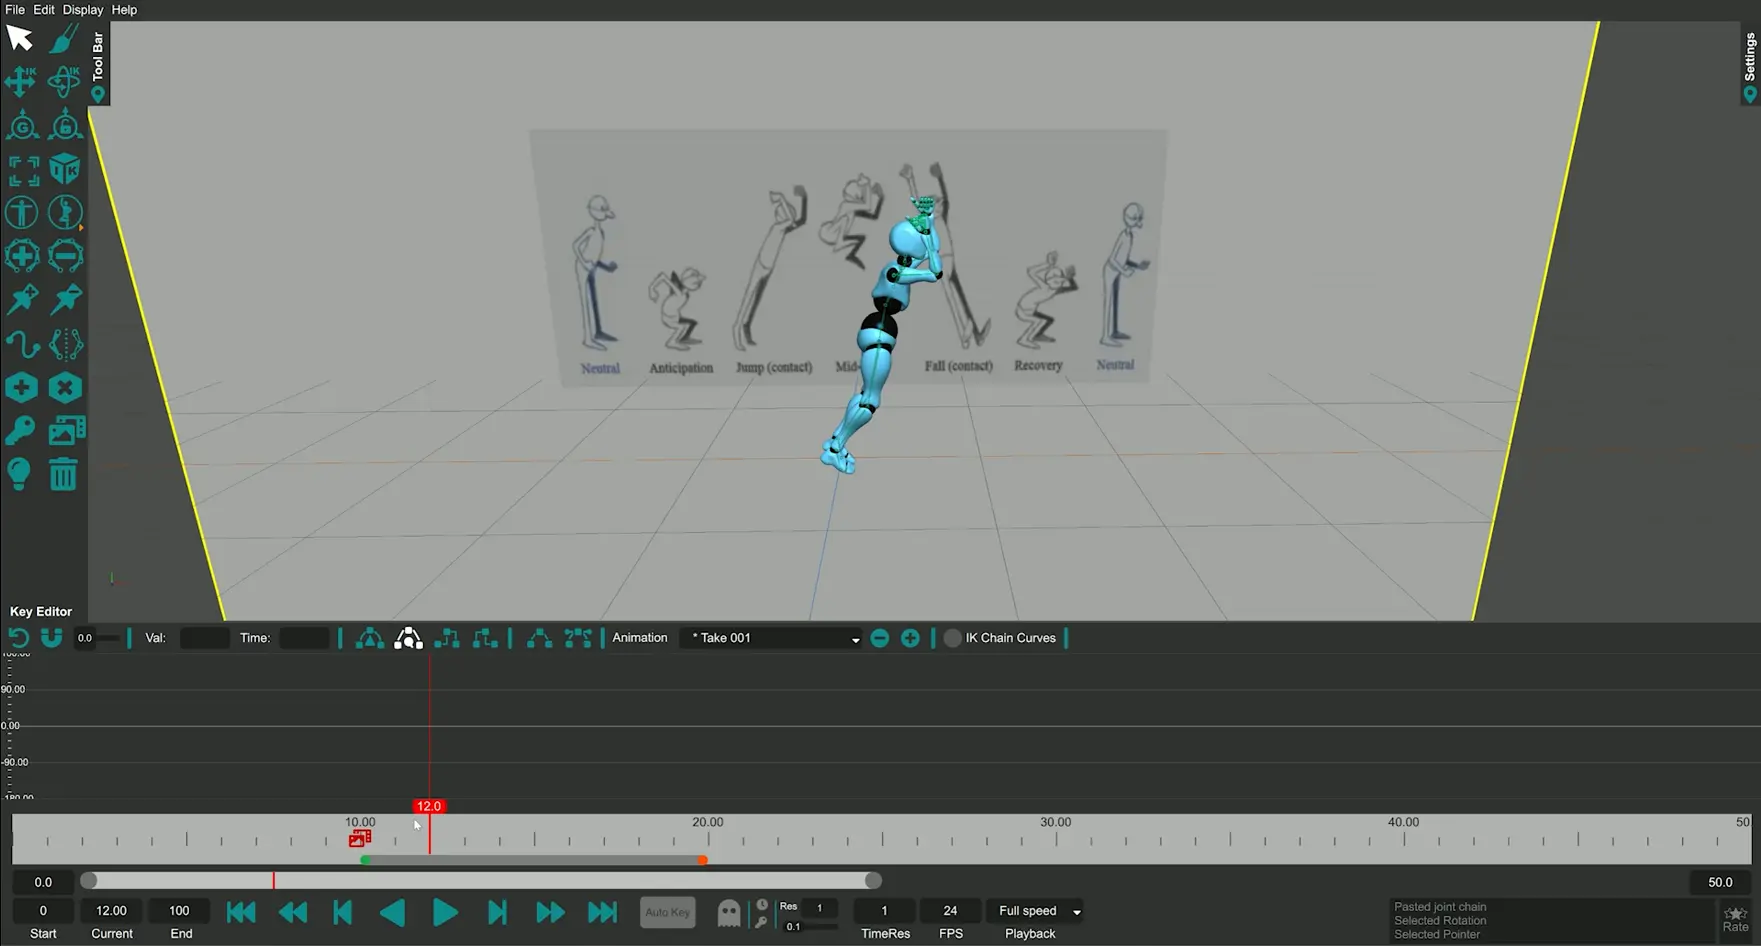
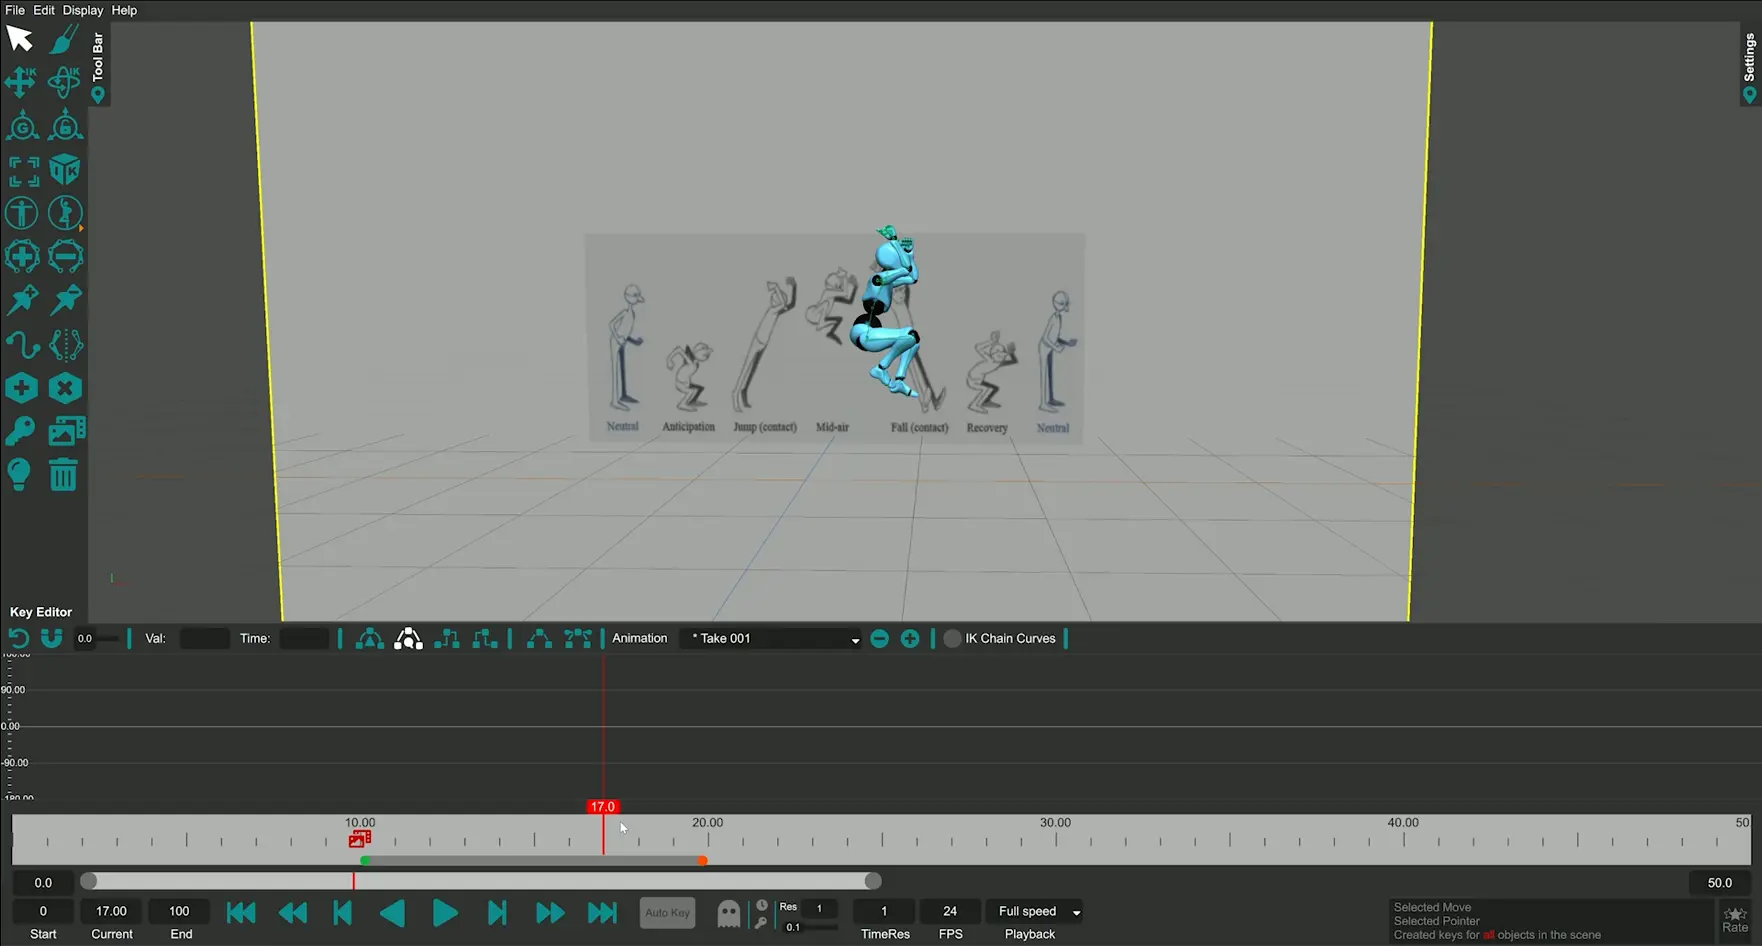
We can keep on creating poses at the corresponding values using Sketching, FK and IK and keying each pose at its corresponding value.
Once all the poses have been completed and keyed to their corresponding time frame we can play the jump animation. Further refinement to the poses and the timing can be done in order to improve the animation quality. The animation can then be exported either as an FBX or GLTF/GLB file using the export dialog. A real-time video version of this tutorial can be found below.