How Can We Help?
Selecting Control Points
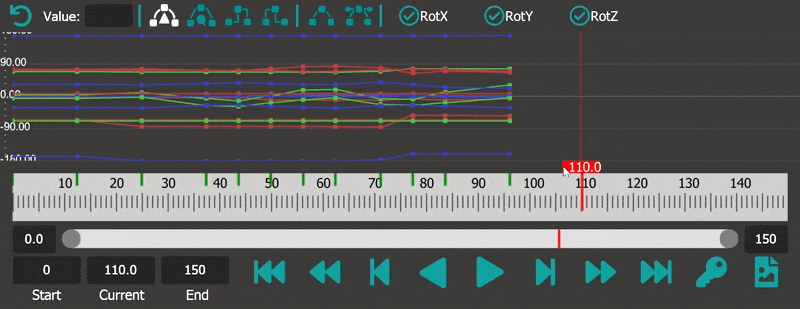
Any key, control point or animation curve can be selected using the KeyEditor. By simply clicking on it an individual control point can be selected. If a key is selected then all control points lying at that time frame will get selected. And if an animation curve is clicked then all control points of the animation curve will get selected.
To select multiple control points, keys or animation curves, press and hold “Shift” and click on multiple objects. In order to create a box selection either in the KeyEditor or the Timeline press and hold “Shift” and draw a box using the left mouse button. All selected objects will appear white in the KeyEditor and the Timeline.

As soon as a control point is selected its tangents will become visible as orange lines and rectangles. Each control point has two tangents adjusting which will alter the animation curve leading to and leaving out of the control point. Tangents can only be adjusted when “Euler Angle” interpolation is used.
Copying and Pasting
Control points can be copied and pasted. By selecting and copying (Control+C) the control points the user copies their attributes (values, tangents etc). These can be then pasted either on existing control points or pasted as new control points. By selecting a new set of control points the user can paste (Control+V) these attributes. Or if the user wants he / she can paste on an empty time frame in which case new Control Points will be created at that frame. This is very useful when creating animation cycles when the user wants to match the first and last animation key frames.
Important Note: In order to paste at a new key frame make sure to deselect all keys by clicking on empty space in the KeyEditor or the Timeline. Otherwise pasting will simply re-write the selected keys. In order to overwrite keys select them first before pasting.