How Can We Help?
Creating Keys
Keys can be created at any frame in the timeline using the Create Key button or the “K” key. This will create a key on the timeline for all selected effectors and joints along with their participating joints. If nothing is selected then keys will be created for all effectors and joints in the scene. Keys are created for rotation and translation attributes only, no other attribute can be keyed for now. Each key has as many control points as the number of attributes.
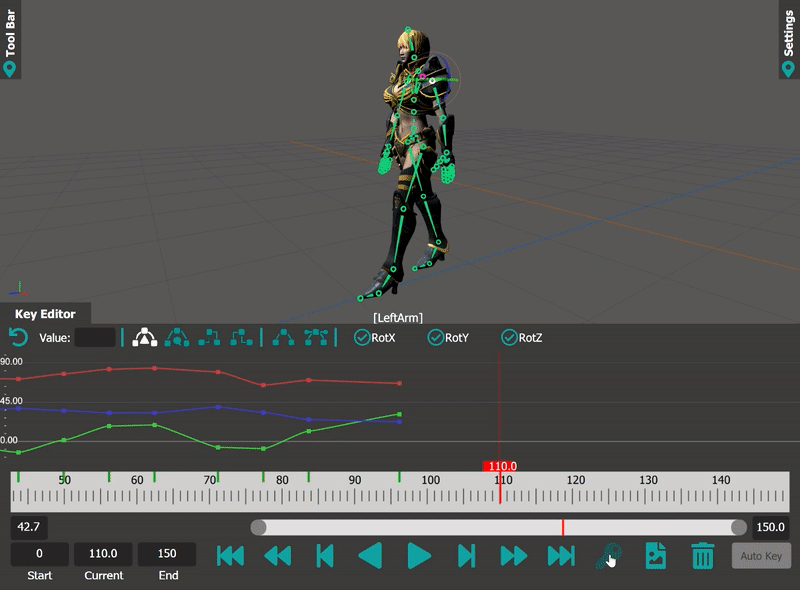
Control points and animation curves can be viewed in the KeyEditor for any effector / joint by simply selecting it. Each control point will be visible in the KeyEditor as a small square (red, green, blue for x,y and z axis). Keyed attributes for all selected objects will appear as check buttons in the KeyEditor, the user can toggle respective animation curves using these check buttons.
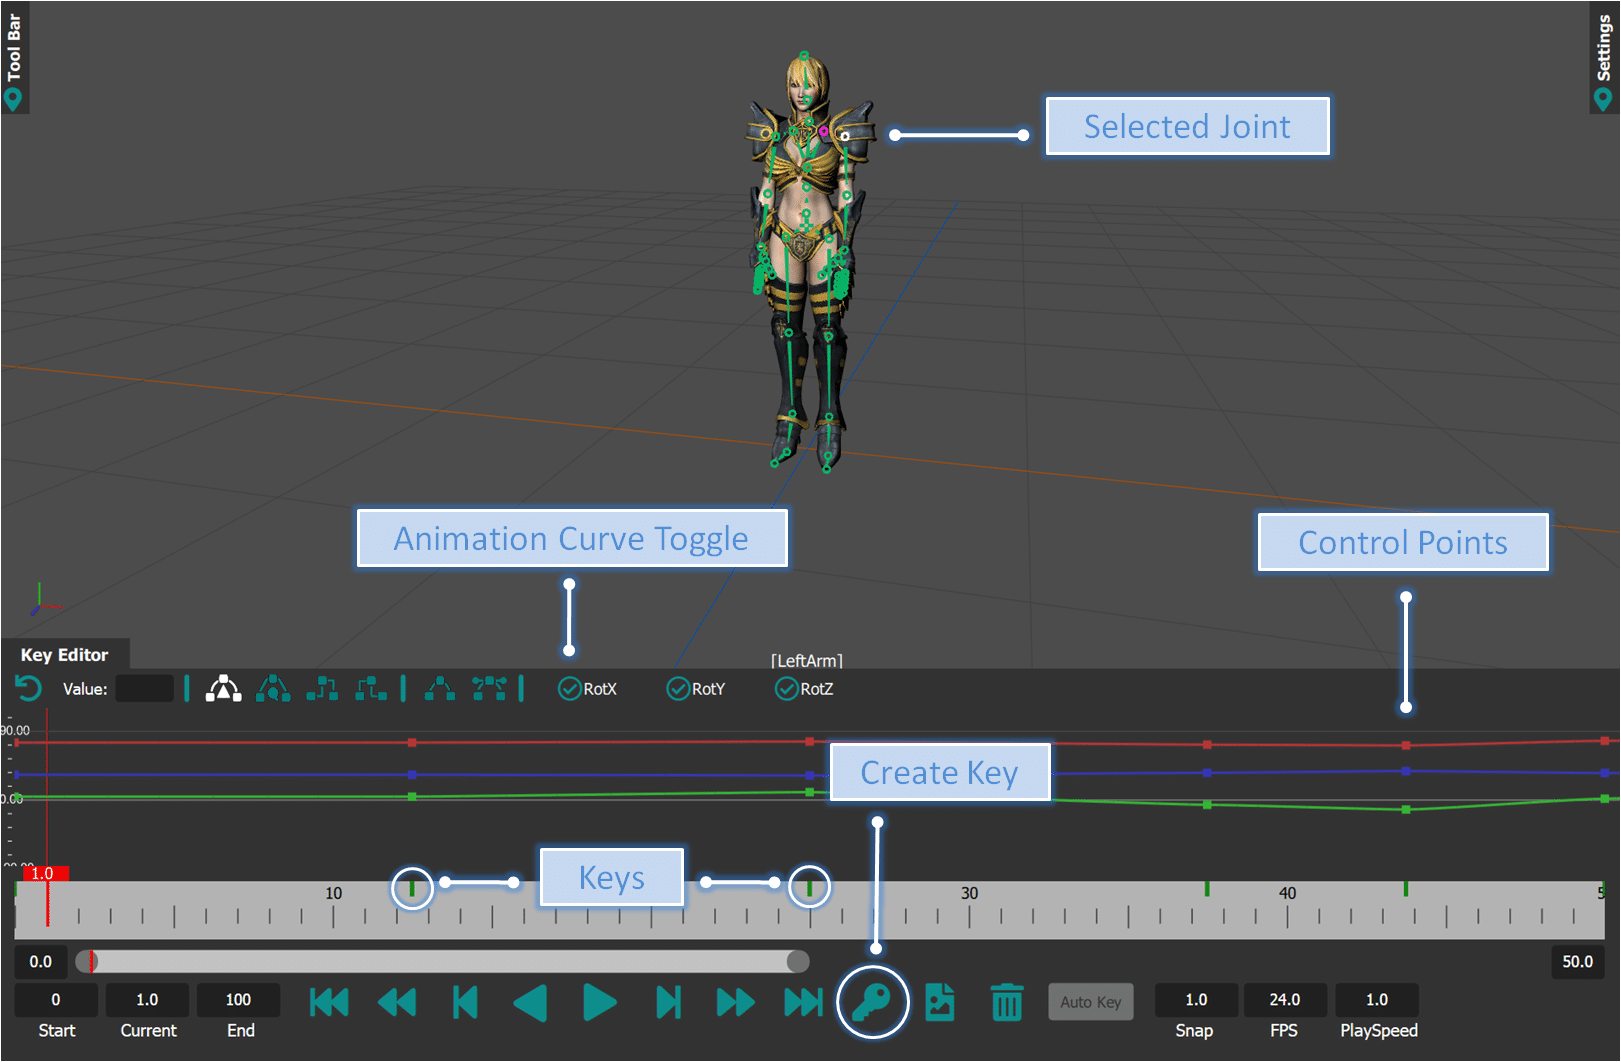
Each key appears as a green bar on the Timeline, however, each control point in the key is a green bar and the key is simply multiple such bars overlapping at the same time frame. Moving the Control point will also move the green bar on the timeline so that the user can keep track of which time frames contains keys by simply glancing at the timeline.
 Creating a Key and Control Points
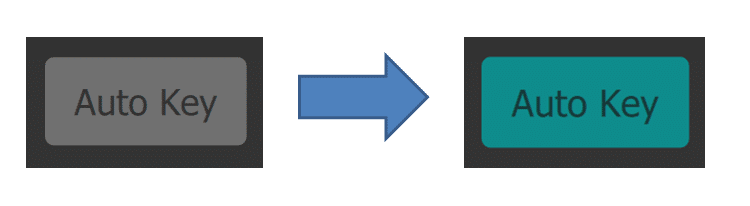
Auto Keying (experimental)
MotionMuse also support Auto Keying. If the AutoKey button is enabled any changes made to the skeleton using IK, FK or Sketching will register in the timeline instantly as a key. For the time being this functionality exists for experimental purposes and may not work as intended.